Designing and Installing Your Putting Complex
A putting green design engagement begins differently from a standard lawn installation consultation. We want to understand how you play golf — your handicap, your home course, the specific aspects of your game you want to develop, and any particular features (number of holes, flag positions, bunker integration) you have in mind — before we discuss the space.
1
Golf Profile Consultation
Before we visit the property, we have a conversation about how you play golf. What is your current handicap? What is the stimpmeter range at your home course? Are you primarily a putting practitioner, or do you want a full short-game complex with chipping and bunker work? Do you host golf-engaged friends who will use the green? The answers to these questions shape every design decision that follows.
2
Site Assessment and Design Conversation
On the property visit, we assess the available space, the grade conditions, the relationship to the surrounding landscape and hardscape, and the sight lines from the primary indoor viewing positions. We also discuss the design with you in the space — walking the area, marking proposed hole positions, discussing where the slope should break and in which direction. This conversation is the foundation of the design document that follows.
3
Design Document Preparation
We prepare a written design document that specifies the green dimensions and shape, the number of holes and their positions, the elevation break profile (how much break, in which directions, and over what distances), the surround and fringe specifications, any bunker or approach zone details, and the drainage infrastructure. This document is reviewed with the homeowner before any material is ordered.
4
HOA and ARB Coordination
For properties in HOA-governed communities — including Timarron, Bridlewood, Robson Ranch, and similar communities across our service area — we prepare the ARB submission package and manage the approval process. Putting green submissions typically require color samples of both the putting surface and the surround turf, a site plan showing the installation location relative to the property boundaries, and a written description of drainage management. We prepare all of this as a standard part of the engagement.
5
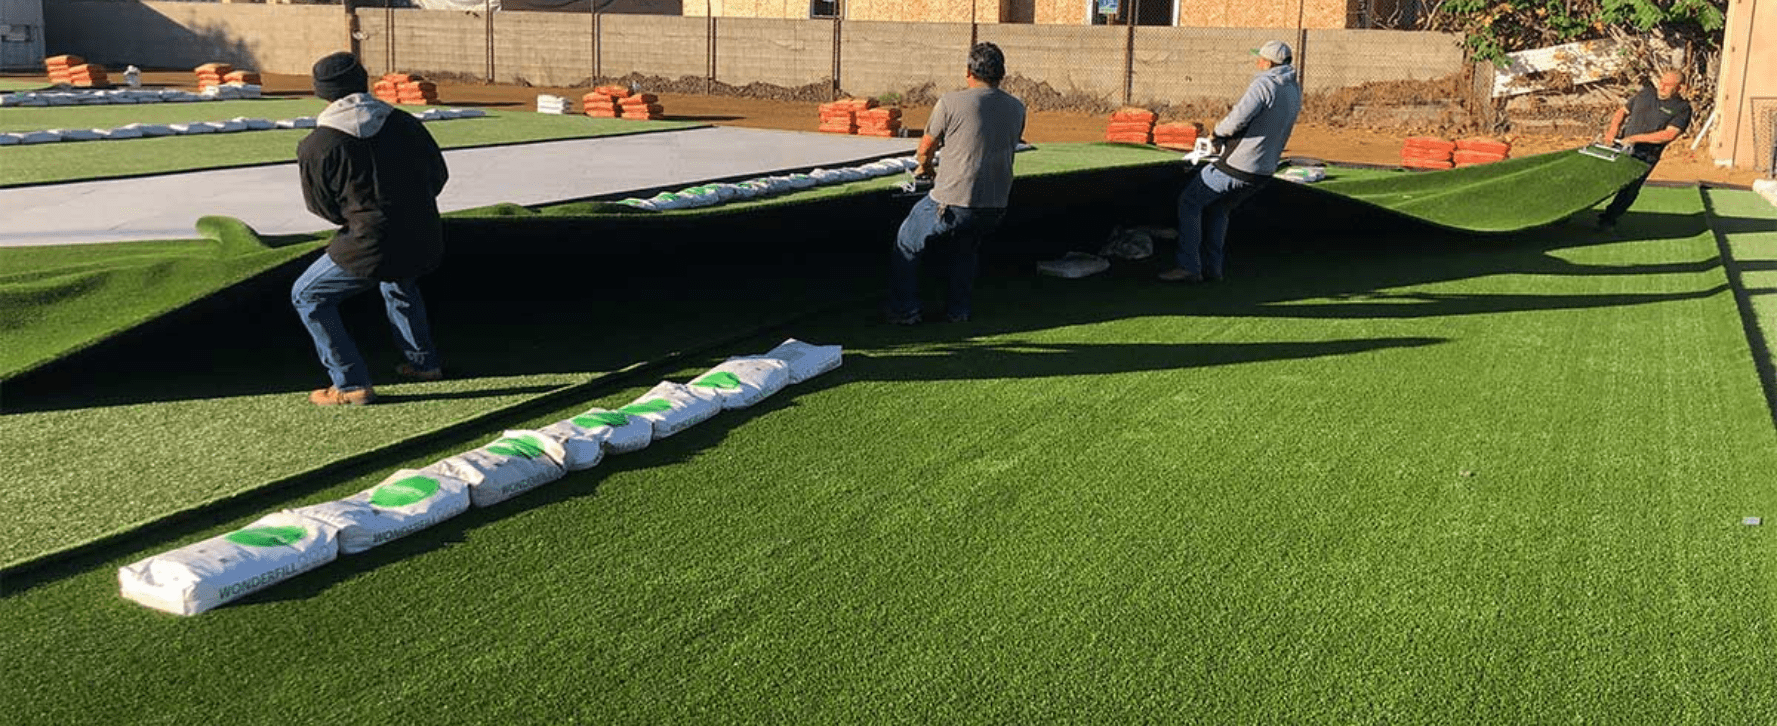
Base Construction and Contouring
The contouring phase is where the design becomes physical. We build the elevation breaks by shaping the compacted aggregate base rather than the turf itself — the turf follows the base contour, so the base must be precise. Our team has the experience to execute designed elevation changes to the inch, which is necessary for a putting surface that plays the way it was designed to play.
6
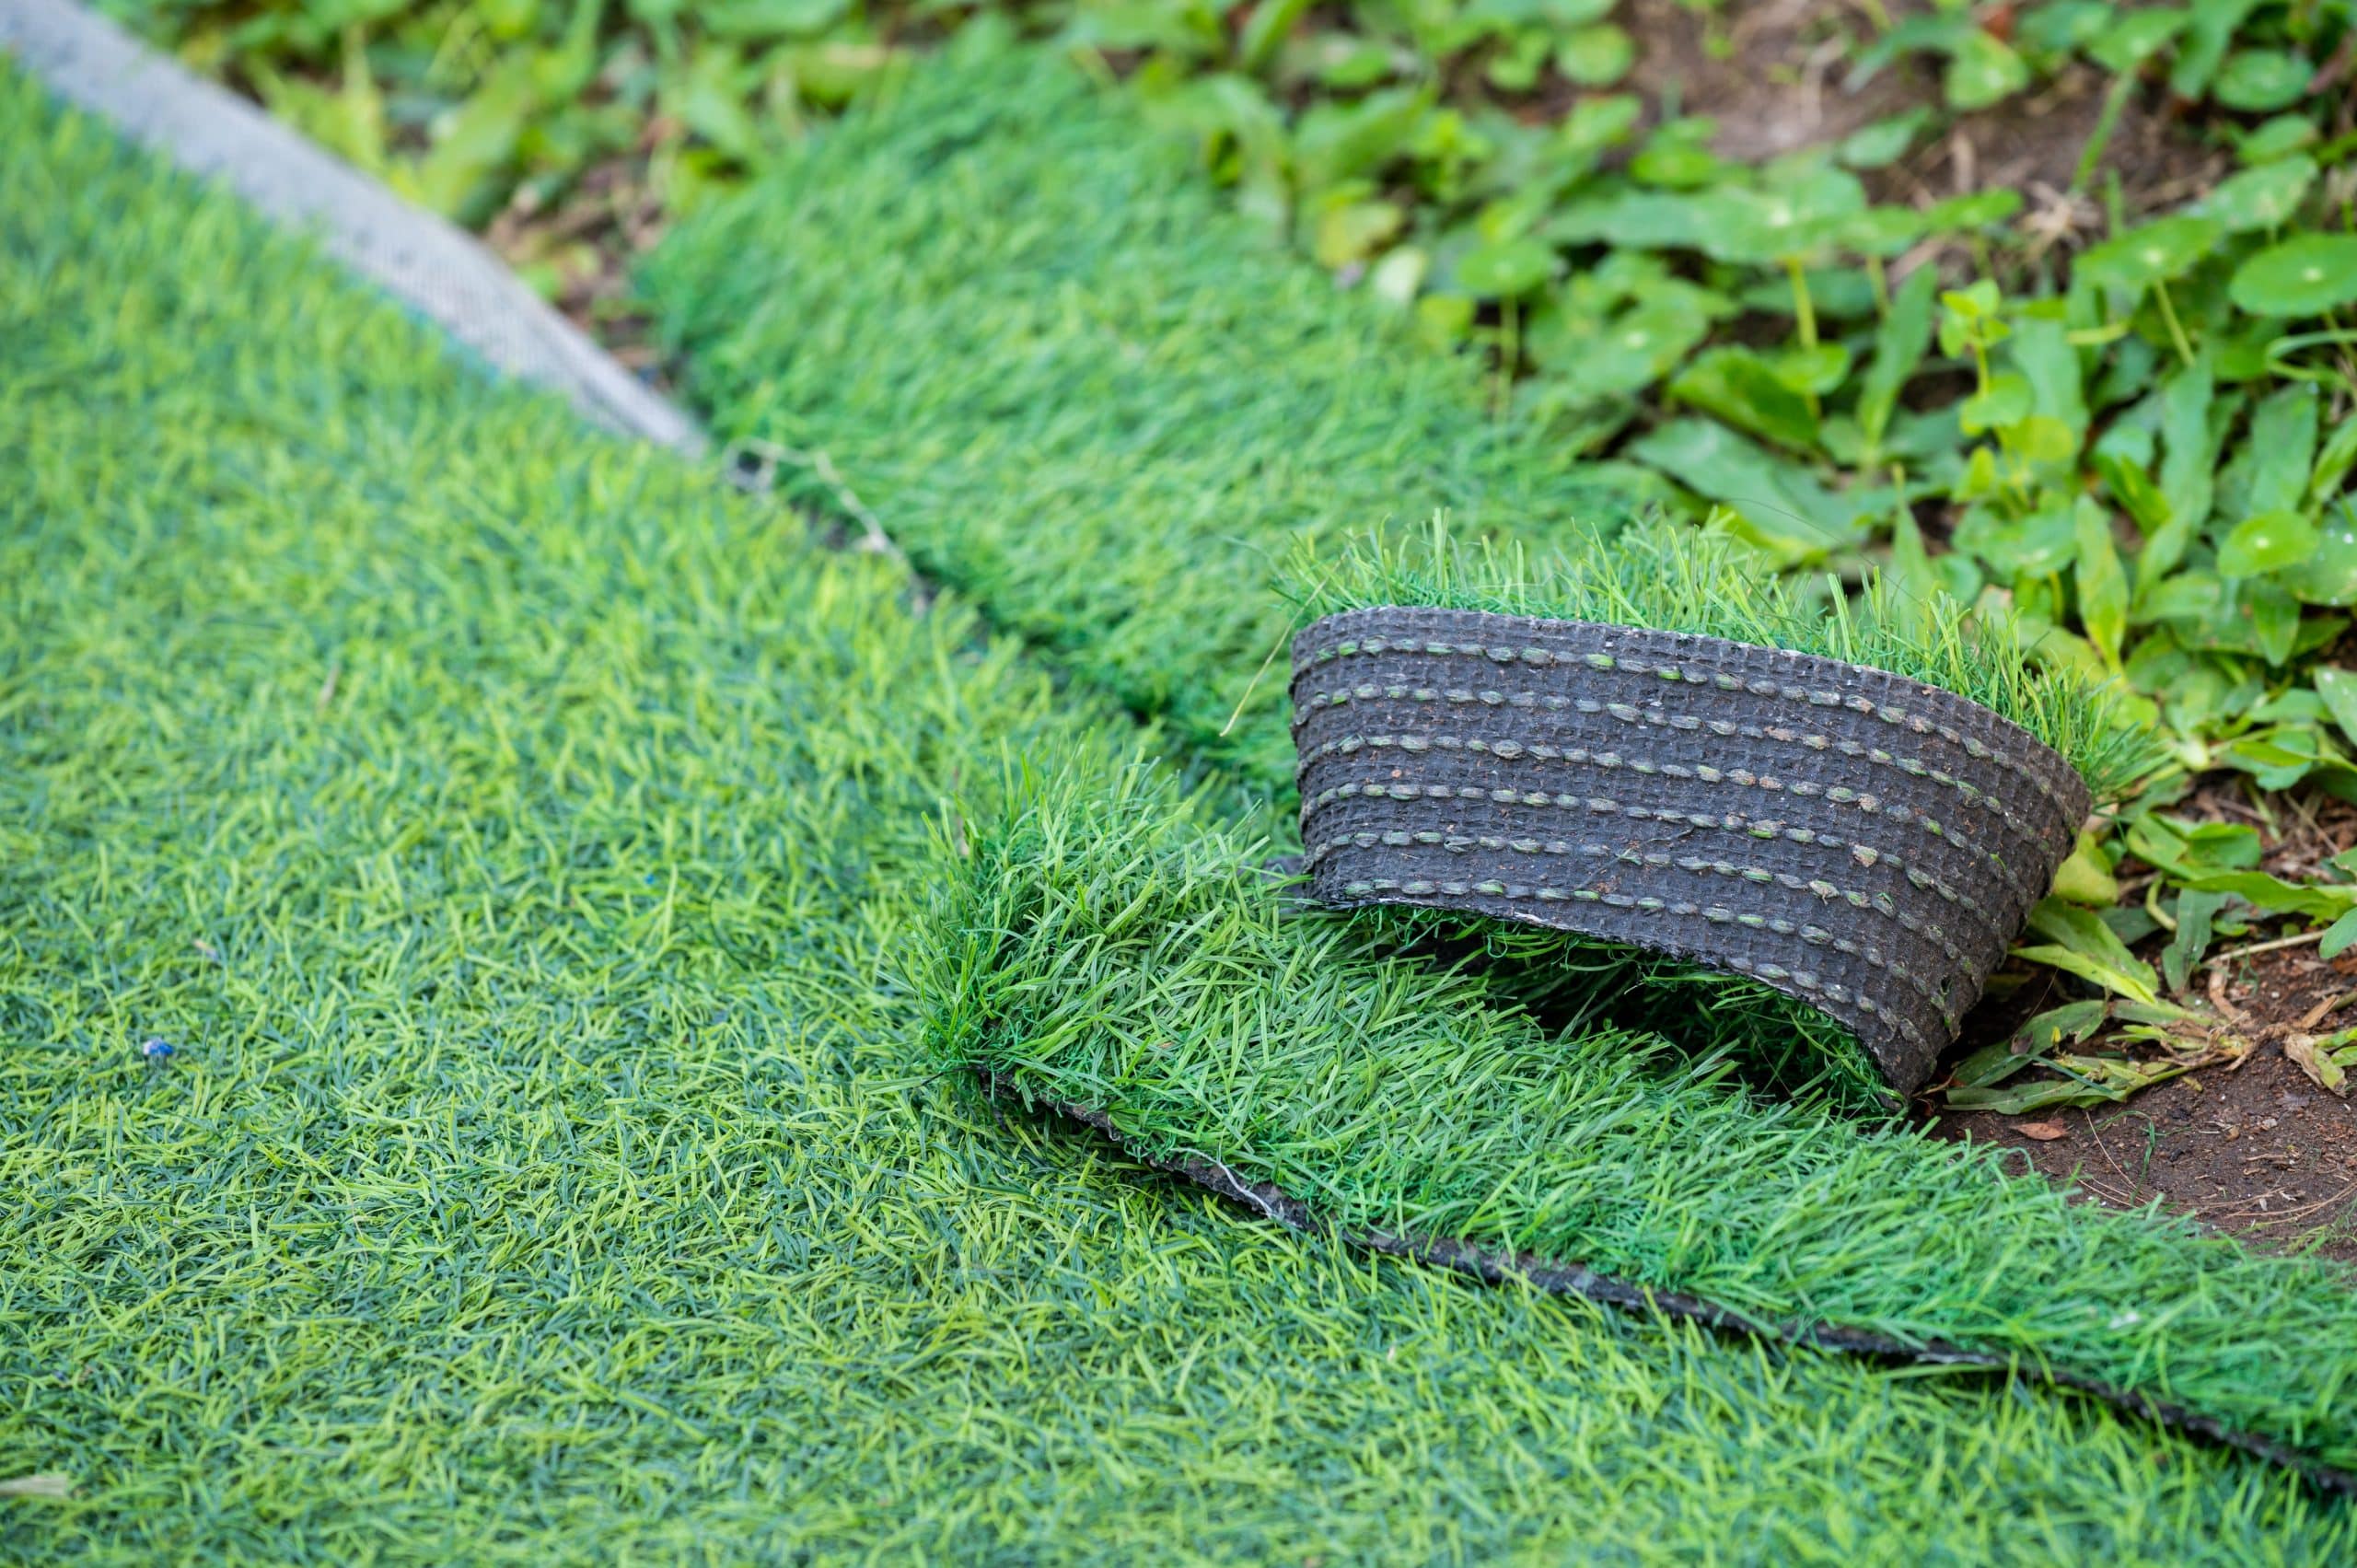
Surface Installation and Stimpmeter Calibration
The putting turf is installed with attention to nap direction (the direction the fiber leans, which affects ball roll direction in a predictable way), seam placement (seams in a putting surface that the ball rolls over introduce inconsistency), and infill density (which, alongside the nap angle, determines the stimpmeter reading). We test the surface with a stimpmeter before completing the installation and adjust the infill density to achieve the specified reading.
7
Orientation and Practice Session
We complete the installation with an orientation that covers the surface characteristics, the maintenance requirements, and a brief practice session designed to help the homeowner understand how the breaks we designed play. This is one of the aspects of our putting green work that homeowners most consistently mention — the initial orientation is designed to accelerate the learning curve of the new surface rather than leaving the homeowner to figure it out independently.